BDawg Makes Pixel Art
- ‡ Home Page ‡
 Pretty Soldier Sailor Moon
 Bravest Warriors
  Adventure Time
 Magic Knight Rayearth
 Revolutionary Girl Utena
 Ebichu Minds the House
 Card Captor Sakura
 Madoka Magica
  Pusheen the Cat
 Video Games
 Miscellaneous Projects
— Step by Step Ironing Method —
Here I will lay out a step by step of how I go about ironing my projects.
Supplies I Use:- mini Artkal A-Series fuse beads with pegboards
- masking tape
- parchment paper (rolled with no creases)
- dry iron
- xacto knife #1 with #11 blade
- xacto knife #5 with #22 blade
- cutting board
- a heavy hardcover book
I begin explaining the process at the stage where all the beads are arranged on the pegboard the way I want. Like so:
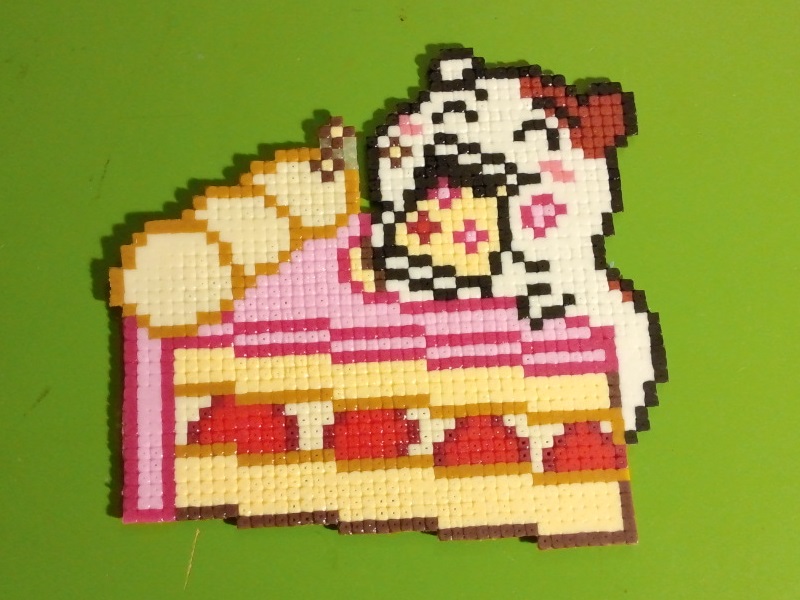
Step 0.1) Outline the Project in Transparent Beads
For all of my projects, I lay down a layer of transparent beads around the outside on the pegboard before taping.
There is a reason for this. The holes in the outside layer of beads tend to not seal up when ironed. This isn't what I want in my finished project, since I like the pixel-like square shape of ironed beads. My solution to that problem is to outline my projects in clear beads. I would say this is only successful when working with soft, flexible beads like Mini Artkal A-Series. Perler beads are very hard after ironing, and its way too much trouble to try and remove a clear layer of beads. But the Mini Artkal are pretty easy to chop away with an xacto knife. That way I'm not bothered so much if the clears blow out, since they aren't a part of the original design anyways.
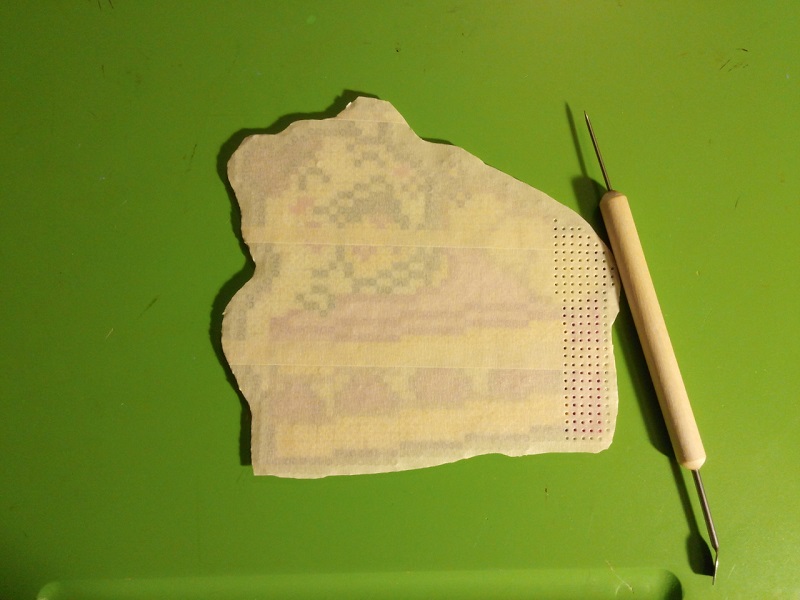
Below is an example of an ironed project where I laid beads around the outside.
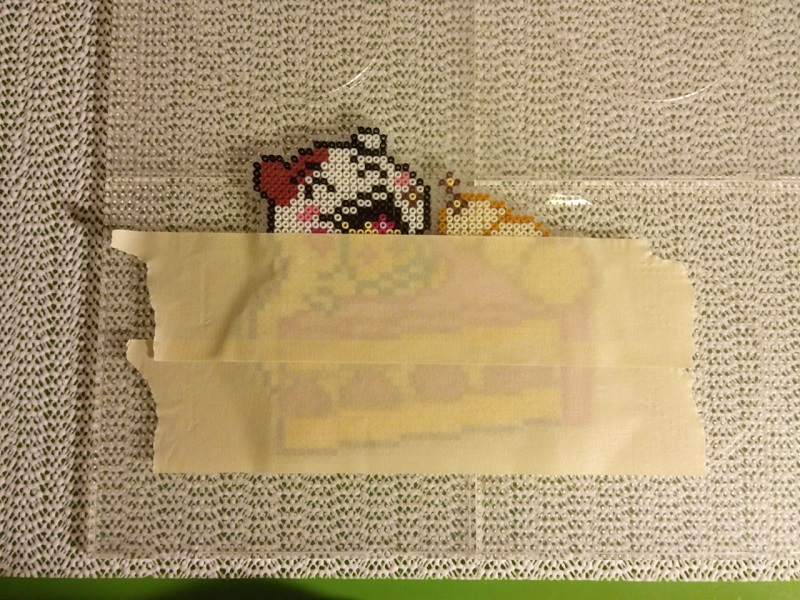
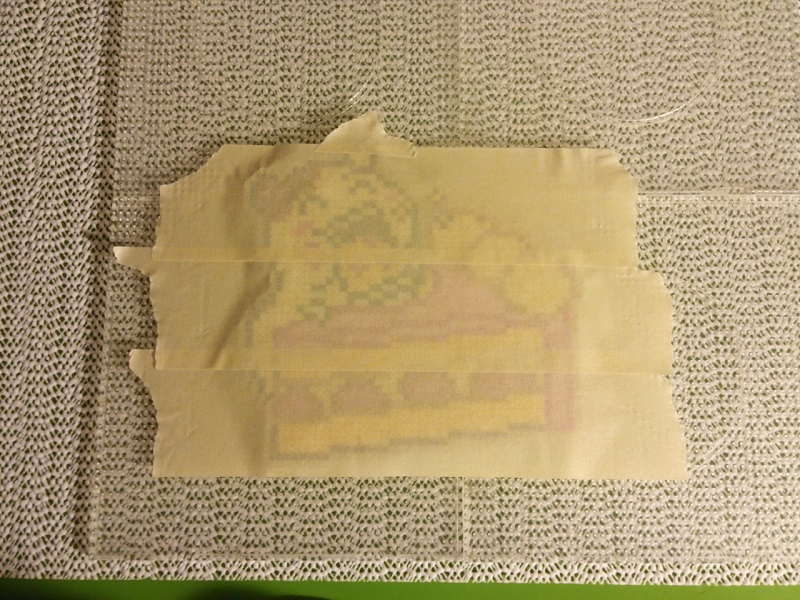
Step 1) Applying Masking Tape
Something I noticed fairly quickly when picking up my fuse bead hobby, is that ironing with the beads still on the pegboard can actually damage the peg board. I tried to find a solution to this and it seems a common method is applying masking tape over the completed project on the pegboard then removing the project from the pegboard. Each strip of masking tape should overlap the other slightly. Once all the tape is applied, pressed down on the beads to be sure the tape is sticking to all of the beads.

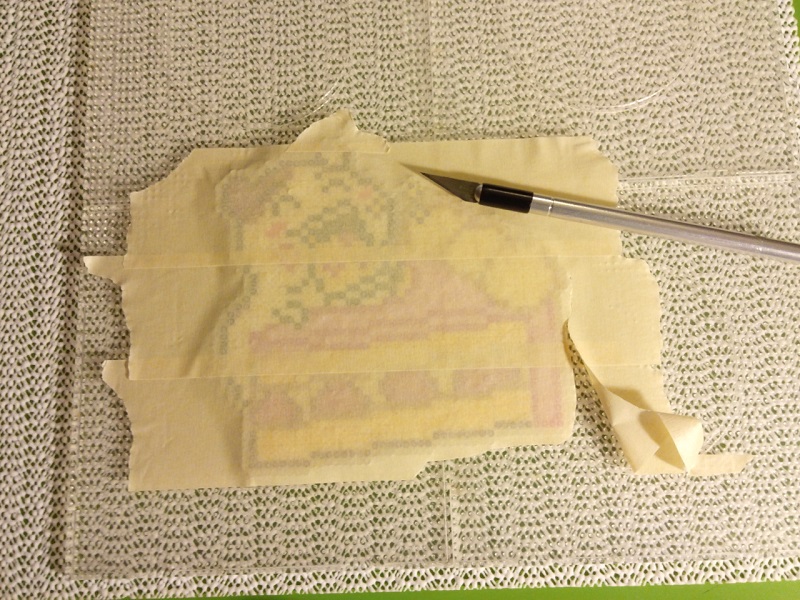
Step 2) Cut Away Excess Masking Tape
Once tape is applied to the entire project, I use an xacto knife to cut away the excess masking tape. I like to remove the excess to make it easier to move the project around without it sticking to anything. I cut away the tape directly on the pegboard, which leaves scratches on my pegboard, but that doesn't bother me.
Pictured below is xacto knife #1 precision with blade #11.
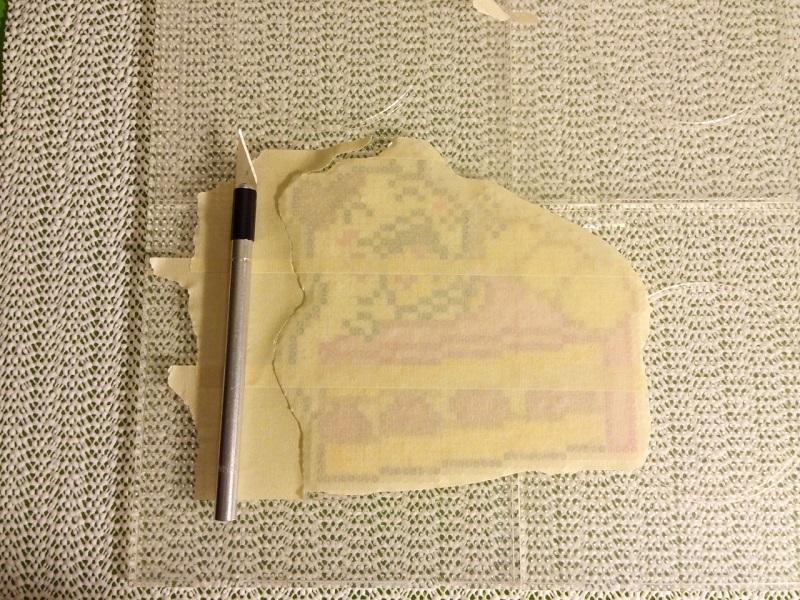
Step 3) Poke Holes in Masking Tape
The next step is poking holes in the masking tape. For 5mm size beads I would use a smallish nail for poking the holes. For 2.6mm mini beads, I have found that a particular clay carving tool works best. It seems kind of like a nail attached to wood, making it easy to hold. I was able to find a kit of clay tools at a craft store. I have it pictured below.

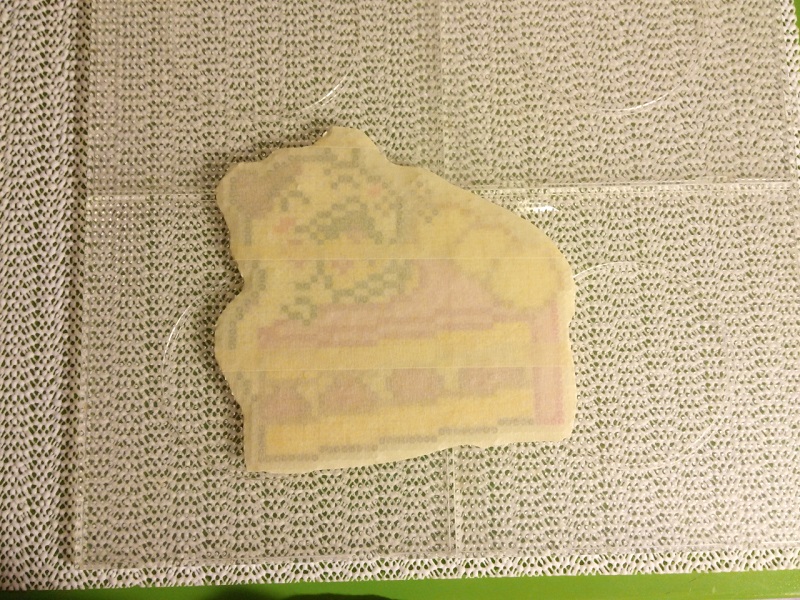
Step 4) Double Check for Flaws Before Ironing
Once I have all the holes poked I inspect the piece to be sure I didn't miss poking holes in any of the beads. Unfortunately, if there are no holes in the tape, the beads can blow out when ironing. Meaning the holes will become larger instead of smaller. I've read that it has something to do with trapped air.
I also check over the beads for any stray hairs. I have cats, so I pretty much always get cat hair on my projects. The worst is ironing a hair into your project! It's pretty impossible to remove it afterwards. I've had some success in the past by carving it out with a needle, but it's difficult and leaves scratch marks on the project.
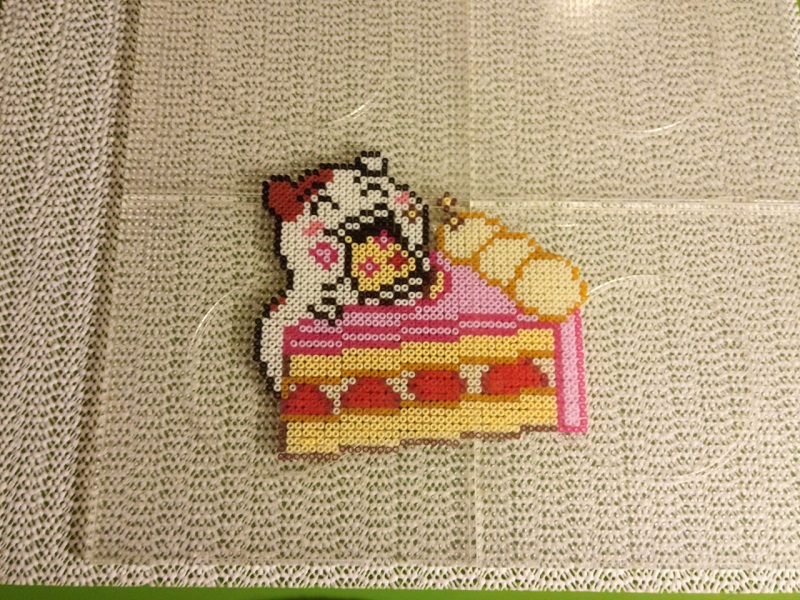
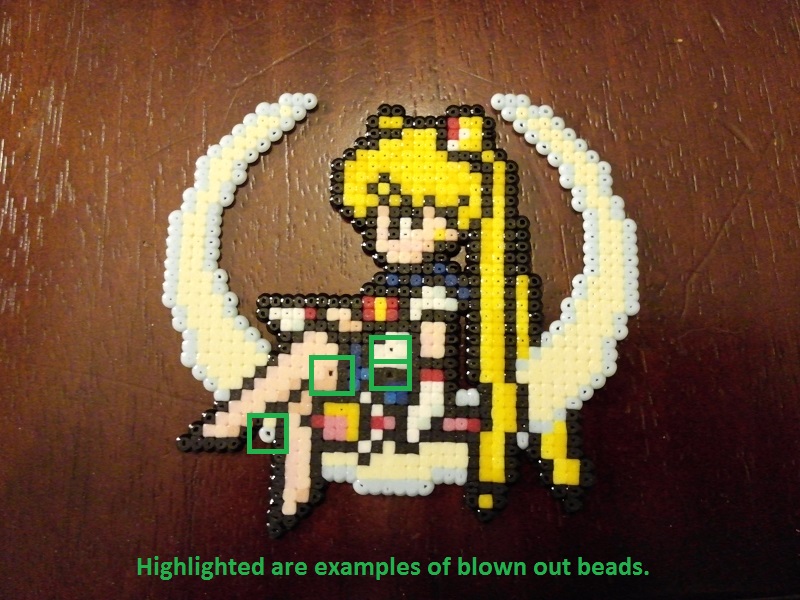
Blown Out Beads:
As seen in a different project below, there are some examples of blown out beads after ironing.
A blown out bead is different than a bead that is not melted all the way.
The outer layer of beads tend to not close up all the way, but that seems fairly typical.
The blow outs are interior beads where the holes do not close up because of the trapped air.
In the blow outs below, sure enough, I had missed poking holes through the masking tape in those spots.
Step 5) Ironing
For ironing, I use Reynolds parchment paper. It can be found at grocery stores. I never use the parchment that comes with the fuse beads. It is folded, and the fold creases can actually be imprinted in the project when ironing.
My favorite type of iron is an old fashioned dry iron. It doesn't use steam and the heated base is flat. These irons are cheap, I got mine on Amazon.com for about $20. I never set the iron to the highest heat setting, but somewhat close to it. When I iron the beads, I use the slow circular motions that I believe were mentioned in the Perler bead ironing instructions.
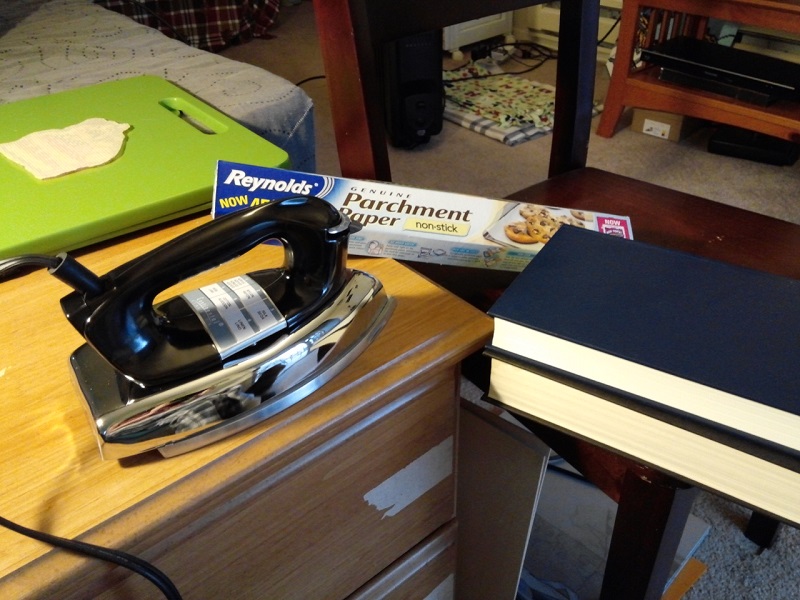
My preference is to iron the beads so I can get the holes as close to melting shut as possible (this does create a problem when removing the masking tape afterwards though). Once the beads are melted as I like, I place a heavy book over the project (parchment still attached). This keeps the project from curling while cooling off. The book step is essential for Perler beads, but I noticed isn't as crucial with the mini Artkals, which are soft and flexible. With some Perler projects, I would leave the books on top as long as 24 hours. With mini Artkals, I usually only leave the book on for 10 minutes.

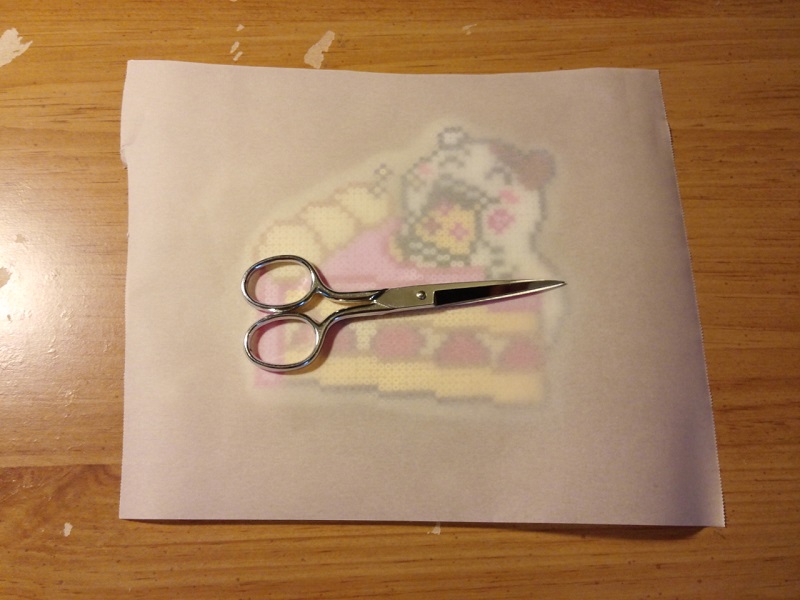
Step 6) Remove Masking Tape
The last step in my process is removing the masking tape from the back of the piece. As I mentioned above, when I get the holes closed too tightly, sometimes the tape is very difficult to remove. In that case, I typically remove what I can and just leave the rest on. The tape isn't on the side I display, so it's not a big deal for me.
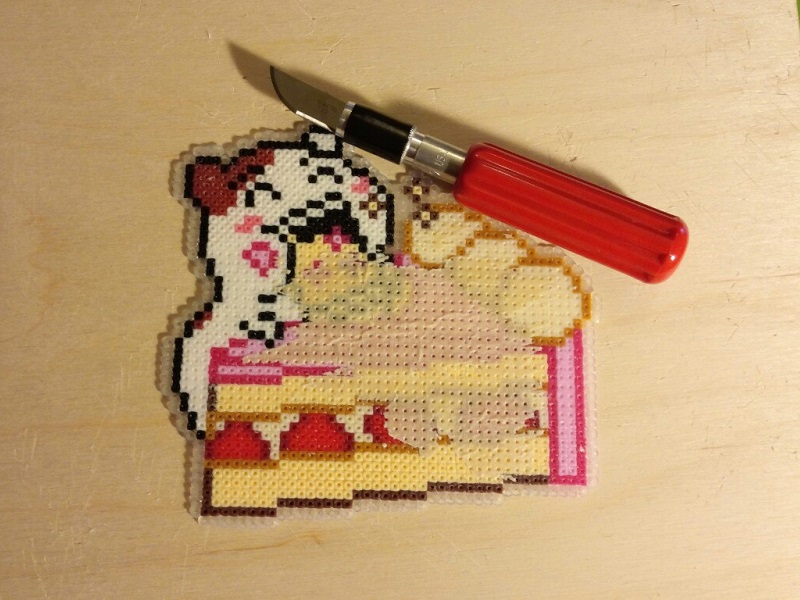
Step 7) Cut Off Clear Bead Lining
Lastly, I cut away the clear bead layer. This is actually one of my favorite steps in making fuse bead projects. I place my project display side down on a strong 1/2 inch thick plastic cutting board. Then I cut away the clear beads with the xacto knife. This takes time and care, since I want the cuts to be as clean as possible.
In the picture I took below, I was using a piece of wood to cut on top of, which would get cut up and splinter in the process. Then it occured to me to use one of my plastic cutting boards instead. That has worked out much better.
For cutting away clear beads I use xacto knife #5 heavy duty with blade #22, as seen below.